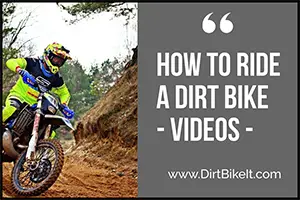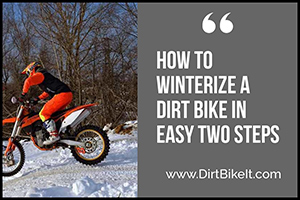
How To Winterize a Dirt Bike in Two Easy Steps
How To Winterize a Dirt Bike in Two Easy Steps
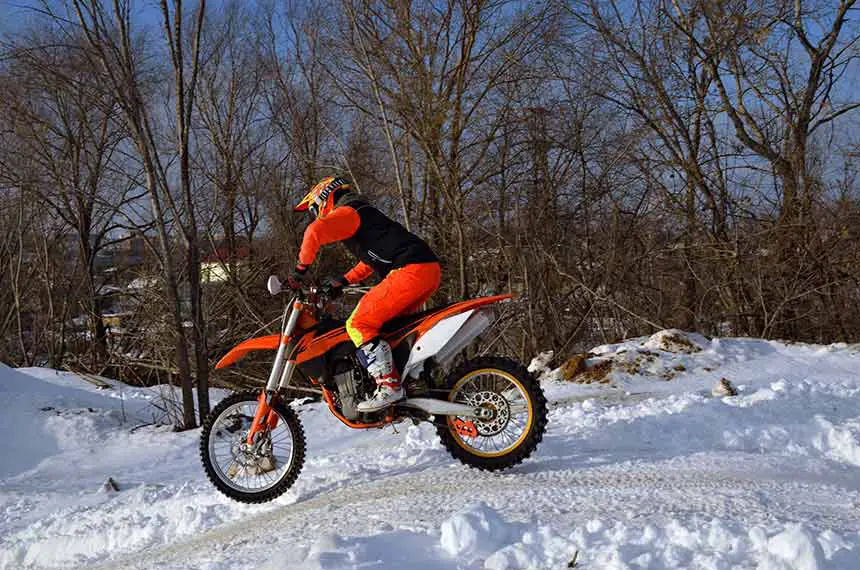
You should get plenty of time out of your dirt bike, and it should hold its value extremely well, as long as you give it the proper maintenance. One of the most important steps to proper maintenance is getting it ready for the off-season by winterizing your dirt bike.
Winterizing a dirt bike is simple but very important if you want to enjoy your bike year after year. It’s a straightforward process that will eventually become second nature.
For a quick rundown, the two first steps you need to take to winterize your bike are simple and easy:
- Put some fuel stabilizer in your bike’s gas tank and run the engine to get the stabilizer all the way though. This should take about two minutes
- Take off the battery and put it on a smart charger for the entire off-season.
These first couple of steps are by far the most important and will end up saving you money down the line, but there is much more that you can do to get your bike ready for the winter. The following article I wrote should serve as a step-by-step guide to winterizing your dirt bike.
Step-by-Step to Winterizing a Dirt Bike
It’s never a good feeling putting up a dirt bike for the season, and many of us (myself included at times) put it off for as long as possible. However, it’s an extremely important process if you don’t want to spend more than you should on bike maintenance each year and if you want to ride as early as possible in the spring. The last thing you want is to get all set to ride and realize you’re bike isn’t ready on the first nice day of the year.
Simply having the mindfulness to follow the first two steps should save you the cost of a battery each year. However, if you’re as thorough as I like to be with my bikes, you’ll want to follow this step-by-step guide.
Especially if you’re new to dirt bikes or have run into trouble when winterizing them in the past, you might want to go through the full winterization method I’ve written up and either take notes or print it off.
Step One: Put Fuel Stabilizer in the Gas Tank
Since gas only stays good for around 4-6 weeks, you’ll want to get some feel stabilizer in your tank to preserve it. Another option is completely draining the tank, but adding the stabilizer is much easier.
The good news is that when you’re putting fuel stabilizer in your dirt bike, you can use the same product that you’d put in your car. There’s no need to go to a specialty shop. Any auto parts store will have exactly what you need. Putting the fuel stabilizer in the tank will help to preserve the gas over the off-season.
Step Two: Run the Bike for a Couple Minutes
You’ll want to run your bike for a bit after you add the fuel stabilizer so that it can get disperse through the engine, and also warms it up in preparation for the oil change (Step Four). Two minutes with the gas on should be plenty.
After that, you should turn off the gas and let the bike run until it dies. This makes sure that the carburetor is dry and keeps it from getting grimy in the off-season.
Step Three: Turn Off your Gas Tank
Next you should turn off the bike’s gas tank. The key benefit to doing this is that it seals the fuel system, preventing any leaks or evaporation.
Step Four: Change the Oil and Filter
While the bike is still warm from running the fuel stabilizer through, now is a great time to change the oil. The used oil in your bike at the end of the season will have a number of corrosive elements in it, which can break down the engine if left sitting stagnant in the off season.
Changing the oil filter now compared to at a later time doesn’t make much difference, but I usually throw it in with my full winterization overhaul on my family’s bikes at home.
Step Five: Wash Your Bike
Just like with a car, the longer you leave it dirty, the harder it is to get looking like new later on. While you’re getting you’re dirt bike ready for its hibernation, now is a great time to get ride of some of that caked-on mud that you’ve been ignoring all season.
In addition to the aesthetics you should get in some of the nooks and crannies too. A lot of people will recommend using a pressure washer on a low setting, but if you don’t have one, or are afraid of damaging your bike, a little elbow grease will work fine. Dish soap can be put to use on some grease and oil, and for the tougher or hard to reach spots, a toothbrush or wire brush will work just fine.
It’s important to remember that any water left on metal parts could potentially rust them, so you should make sure that everything is either dry or lubed up (Step Six) to keep the bike in good condition while it’s in storage.
Step Six: Lube the Chain and any Cables or Pivots
To prevent rust after washing the bike, you need to make sure to lube the chain as well as any cables or pivots. This is to prevent your dirt bike chain and the other moving parts on your bike from rusting. Feel free to be generous with the lube, you can’t use too much.
Step Seven: Change the Spark Plug
Now is the perfect time to remove your old spark plug and add a new one. While you have it out, it might be a good idea to put a small amount of oil into the spark plug hole. Once you have the small amount of oil in, start up the engine slowly to disperse it throughout all the moving parts.
Step Eight: Replace any Other Old or Broken Parts
It’s there’s some broken or worn down part on your bike that you’ve been living with it, now is a good time to replace it. You’ll definitely thank yourself once the spring rolls around and you’re able to uncover and ride without waiting for a part to come in.
Step Nine: Air Up the Tires
Next step is to check your tire pressure and air them up to the specifications.
Step Ten: Remove the Battery and Put it on a smart charge
If your bike doesn’t have a battery, you can obviously skip this step. If it does, you’ll want to remove the battery and put it on a smart charger in your garage for the entire winter.
If you were to leave the battery on your dirt bike, it would gradually drain itself over the offseason, and eventually be left with no charge at all. Once these batteries lose their charge completely, there’s a good chance they wont work at all and you’ll need to buy a new one. It’s a good investment to simply buy a smart charger and remove the battery for the winter.
Step Eleven: Put the Bike on a Stand
You should definitely store your bike on a stand over the off-season. The main issue with leaving it sitting on the ground is two-fold:
- This puts unneeded pressure on the suspension and could cause serious damage.
- Storing your dirt bike on a stand keeps the tires from deforming over time.
If you don’t have a stand, it’s a worthwhile investment! If you’re storing your bike in an often-used area of the garage or shed, a stand also makes it less likely that the bike will be knocked over by you or one of the kids.
Step Twelve: Cover Your Dirt Bike
You just cleaned the thing, why would you want any dust to gather on your bike in the off-season. If you cover it, even with an old sheet or two, then when you go and get the bike going in the spring, it should be in perfect condition.
This also serves as a deterrent to thieves if you have a street-facing garage. Crime and garage break-ins are prevalent even in the best neighborhoods. Covering it will make it blend in with the rest of the garage and keep any potential thieves from seeing exactly what you’ve got.
Conclusion
Following this list should serve as a full-service guide to winterizing your dirt bike.
It’s never a good feeling dealing with the changing seasons and sometimes that last ride comes up quicker than we’d like it to.
However, if you follow this guide, your dirt bike should be ready to go as soon as the weather breaks in spring and it’s time to fire up the engines again.
All you’ll need to do is put the battery back on, check the tire pressure, and you should be good to go!